
Again, note how clean the back came off. Also note that the neck has a screw to help hold it in. Definitely not a Gibson.

Putting Tone Bars in a Mandolin
Removing the Back, page 2.
 |
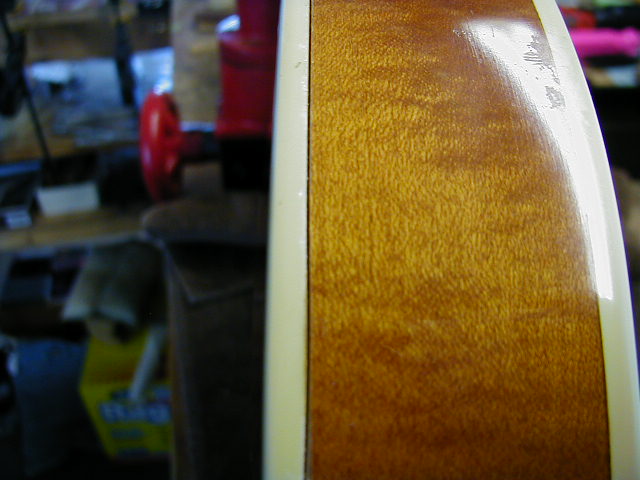
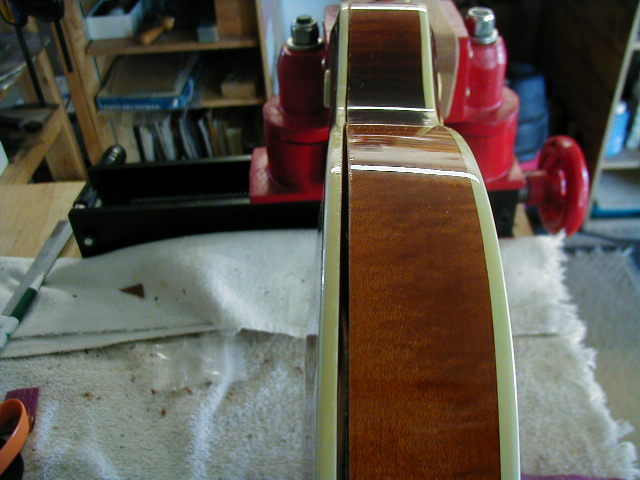
Here's a section with a nice clean cut. As you can see, this
is going to go back together really nicely.
|
 |
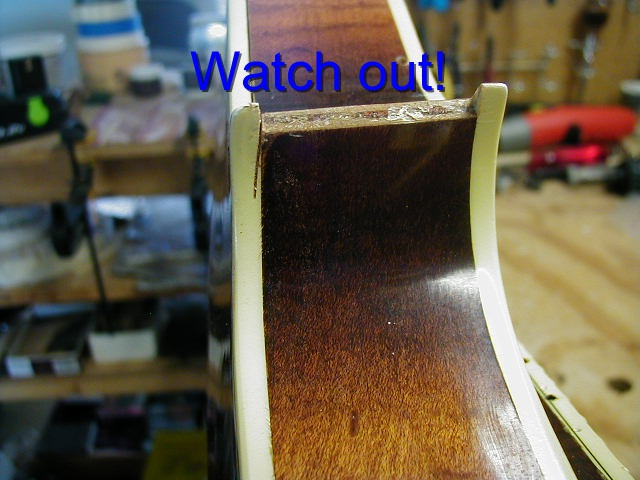
And here's a mistake. Urgh. I let the saw get away and cut into the binding before I caught it. The bone edge had already fallen off- not my fault. |
 |
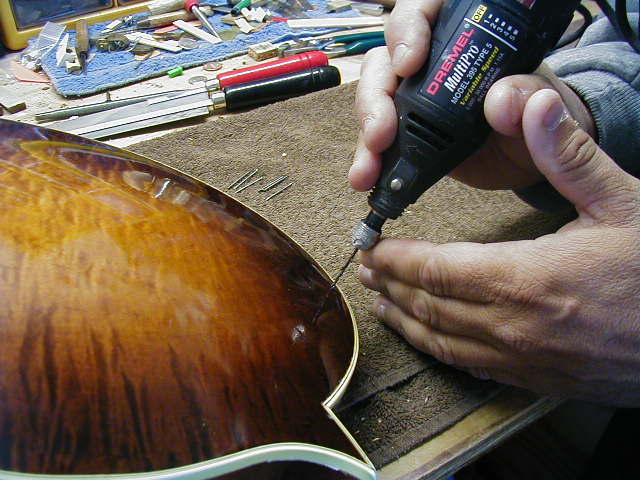
This back was just about ready to come off, but before I actually removed it, I wanted to put some locator pins in place. Here's my Dremel tool with a really small drill bit and several small nails. |
 |
Drilling the nail holes into the end block, neck block, and points. |
 |
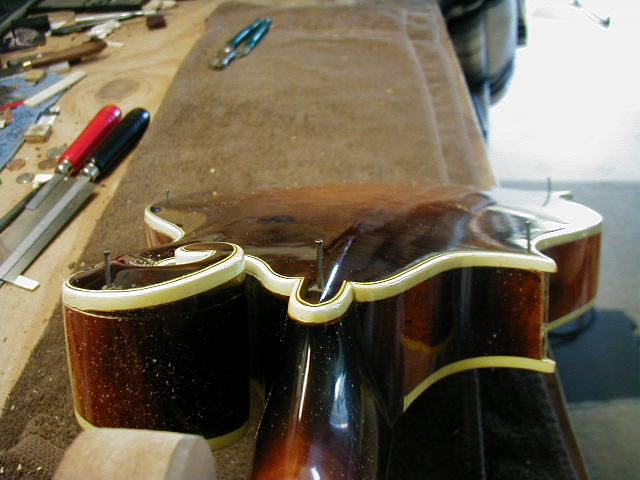
Locator pins in place. The back's ready for the final cuts to remove it. |
 |
The back is just about ready to come off, just a little more cutting right around the neck block and it'll be off. Most of the cuts were clean and straight like this section. Again, note the Stew Mac vise. |
 |
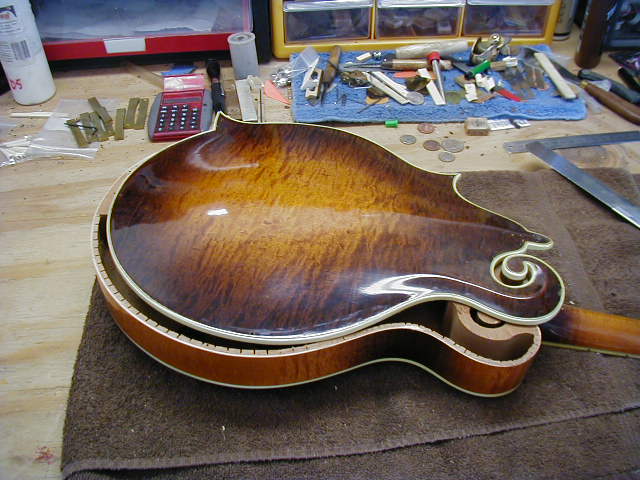
And ta-da, the back is off. |
 |
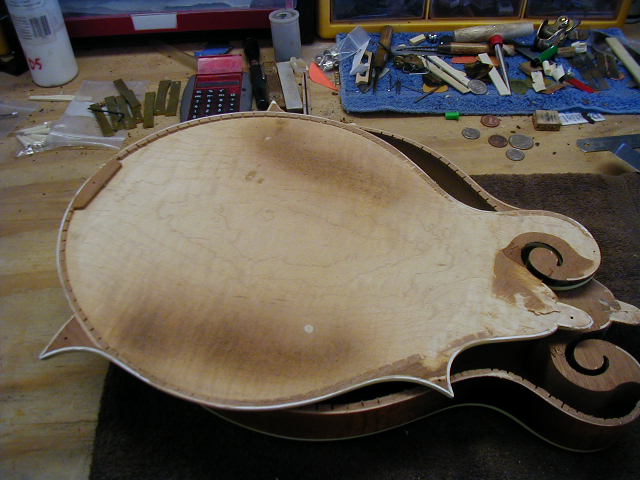
Here's what the back looks like. You can see that the cuts were overall pretty clean and pretty close to the back w/out taking too much kerfing. I'm not too worried about the kerfing since it'll help "click" the back into place again. |
 |
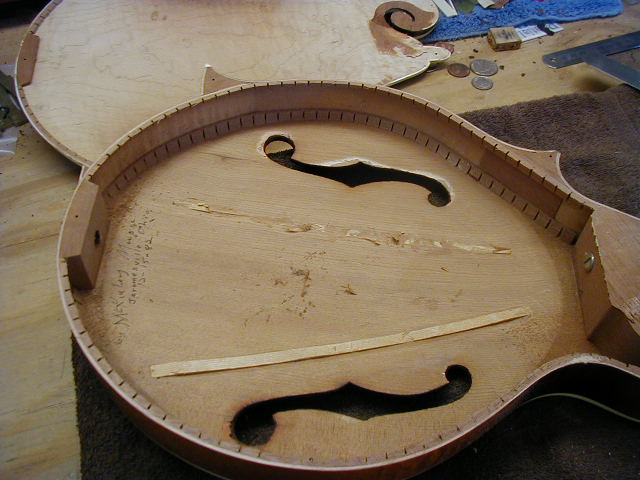
And here's the problem! Someone decided it would be a good
idea to scrape the tone bars out. Oh well, job security. Again, note how clean the back came off. Also note that the neck has a screw to help hold it in. Definitely not a Gibson.
|
 |
Nope, not a Gibson. |
Scraping the back, new tone bars, etc, Page 3